


Procedure
 Step 1. Survey and Quotation
 Our surveyor likes to see your floor and estimate just what needs to be done before the process can start and personal survey visits are offered throughout Leicestershire and Rutland, but projects elsewhere are assessed remotely by photo's sent via electronic communication. The surveyor will help you to decide on what overall look you are trying to create, and depending on what furniture you are installing and the amount of natural light in the room, you may prefer a Matt, Gloss or Satin effect to complement it. A written quotation will be prepared for you following the visit, and this is usually sent via email within 48 hours.
You may find it difficult to imagine how your old wood floor will look after the renovation if it is dirty or covered with a stain. Our workmen will be happy to sand a small sample area at the start of their visit with a hand-held sander to give you an idea of what to expect. You may be pleasantly surprised when the original natural colour is revealed after this test-sanding.
Step 2. Scheduling
We usually need two to four weeks' notice to schedule a job, so it's best to request a survey and quotation as soon as you know when you would like to have the work done. We rarely reschedule a promised start date, and will do our utmost to fit in with your plans.
Your quotation will give a fairly accurate assessment of how long the job will take, but our Wood Floor Surveyor cannot be held responsible if a job takes longer than he estimated during his site-visit. Once you have agreed the quotation (usually by phone-call), 30% down payment and signed contract are required to secure a starting date, and the balance is due upon completion. Payments for the deposit and balance can be made by Card, BACS (Bank-Transfer) or by Cheque if you prefer.
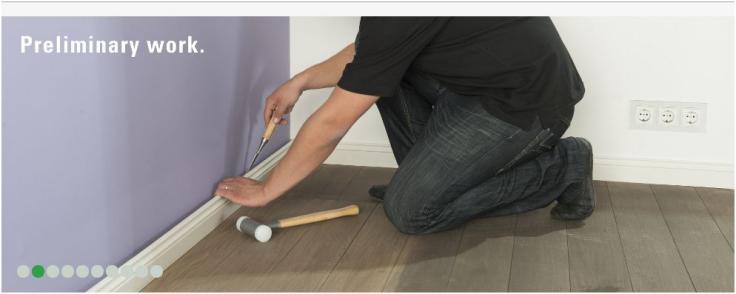
Step 3. Preparation
We ask you to completely clear the floor area of dust-sensitive items such as furniture and carpets before we begin, and cannot start the job whilst building work or other dust and dirt producing activities are in progress. If you cannot manage to clear the area yourself, we will do this for you but it may incur an extra charge for the time taken.
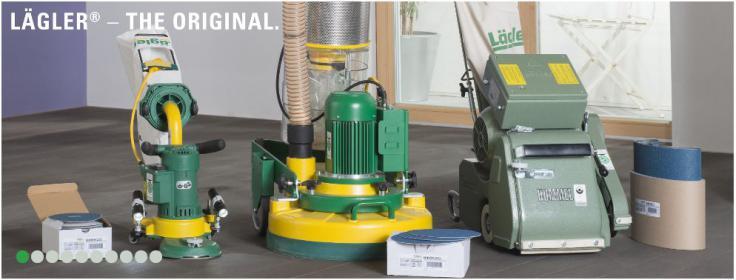
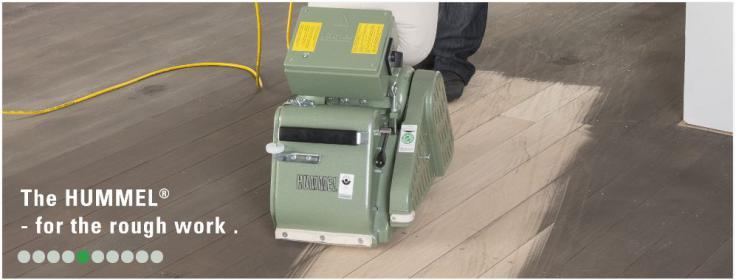
Step 4. Sanding
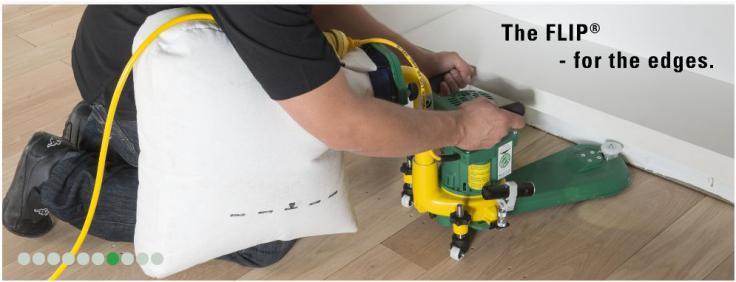
The floor is sanded multiple times with a professional belt driven floor sander using various grades of gritted sandpaper depending on the wood type. The first cut is made using coarse sandpaper and any scratches left by the coarse grit are subsequently removed by successive sanding with fine sandpaper. This first pass removes the old finish and evens out the wood floor surface. An edging sander and hand scraper is then used in corners and wherever the large machine cannot reach to make the complete floor area ready for the first coat of sealer.
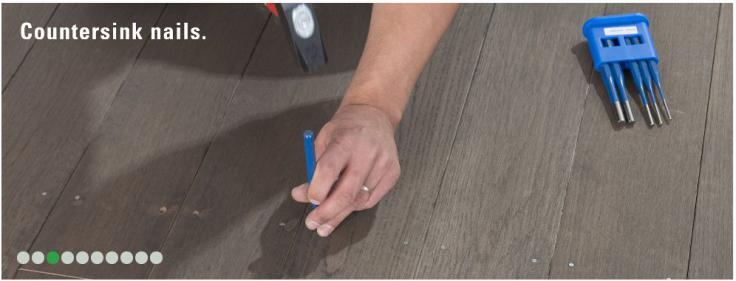
Step 5. Filling and Repairs
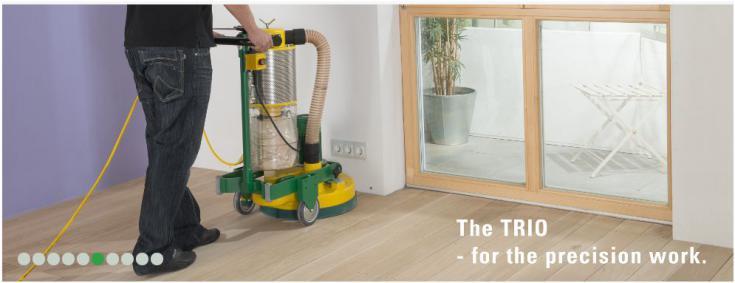
Superficial scratches can often be eliminated during the sanding process, but deeper scratches or gouges may need to be repaired. Nails are punched down and screws countersunk beforehand and then dust-filled. Sometimes older floorboards or parquet blocks may need to be refitted or entirely replaced, especially if the damage has been caused by moisture. A final fine sanding pass with either a mesh screen attached to a high speed buffing machine, or fine discs on our fabulous Trio Machine and hand held Random Orbital sander around the edges will smooth the surface over ready for the next stage:
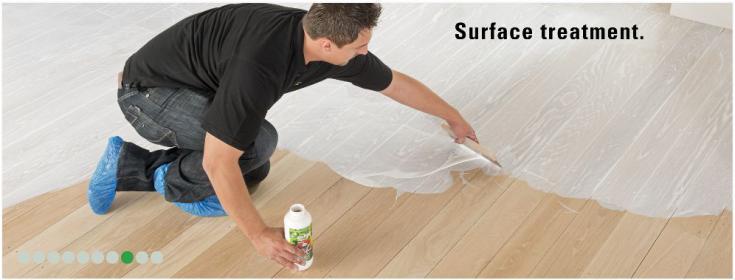
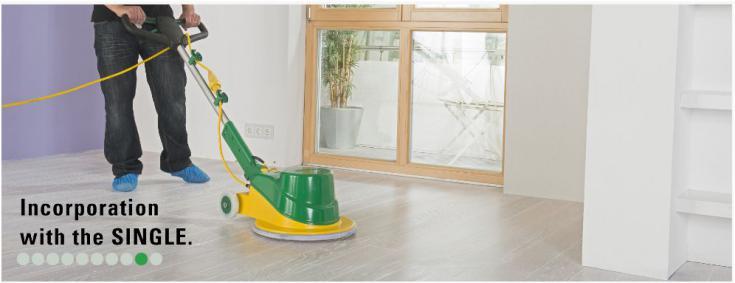
Step 6. Finishing
It is important to protect the newly sanded floor once the existing protective layer has been removed, especially if it has been originally coated with wood floor varnish, harwax oil or wax. The first coat acts as a primer for further coats, which will then need to fully cure without anyone walking on it.
It can take up to 72 hours before the product reaches its full strength depending on humidity levels and air circulation, and it's wise to remove shoes before walking on the floor during the first couple of days. We also recommend not replacing heavy furniture right away without pieces of felt or carpet attached to the underside, as dragging anything heavy across the floor may damage it.
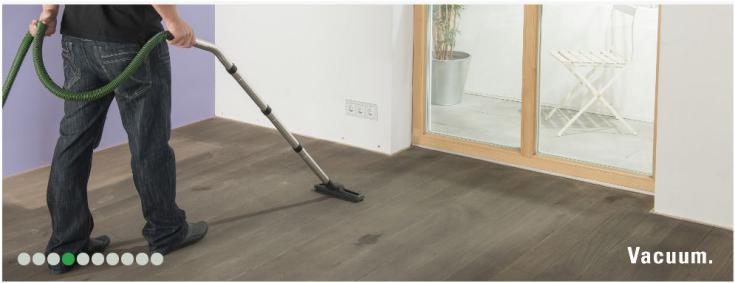
Step 7. Clean-Up
Our sanding equipment is 99% dust free although due to the nature of the sanding process, some dust particles remain in the air afterwards. But don't worry, our team always give the entire area a thorough wipe afterwards - just in case.
Step 8. Maintenance Tips
We will give you advice on how to keep your renovated floor looking like new when the technicians have completed the job and we always advise against using waxes or silicone cleaning materials on your new floor as it may become slippery. To prevent collecting dust and dirt, you must simply use an anti-static mop slightly dampened with a gentle detergent diluted with hot water as can be seen by clicking on this LINK.

Sitemap:
Home
About Us
Testimonials
Why us?
FAQ's
Legal
Prices
Gallery
Links & Social
Vacancies
Contact Us
Services:
Floor Sanding
Beware of Liars!
Wood Floor Restoration
Procedure
Floor Types
Products
Wood Floor Maintenance
Floor Stripping
Wood Floor Polishing
Wood Floor Staining
Parquet Floor Refurbishment
Covering:
Loughborough
Shepshed
Coalville
Hinckley
Market Bosworth
Lutterworth
Ashby de la Zouch
Market Harborough
Oakham
Oadby
Melton Mowbray
© Copyright 2024 Mister Group. All Rights Reserved.